How to Verify Eyewitness Media and Video Footage: A Step-by-Step Fact-Checking Guide
A technical field manual for deconstructing breaking footage, extracting keyframes, analyzing acoustic spectrograms, and debunking recycled conflict video.
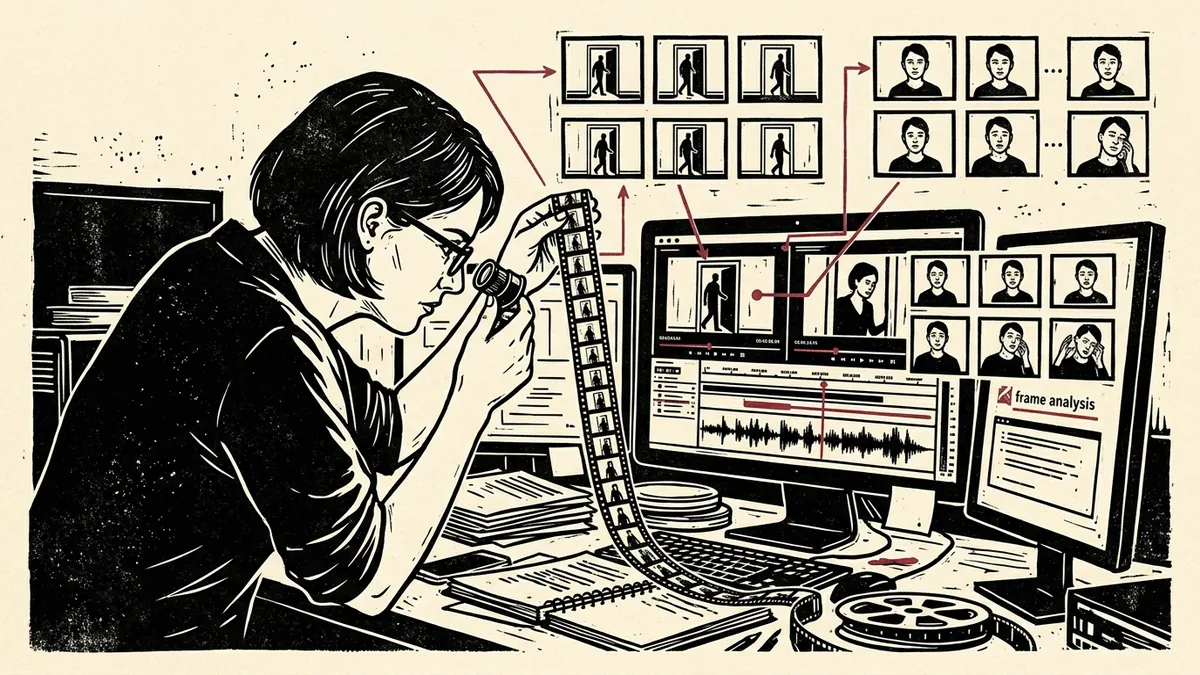
During moments of breaking geopolitical crisis, armed conflict, or civil unrest, video footage represents both the most potent evidentiary medium and the most vulnerable vector for weaponized disinformation. Unlike still photography, video captures motion, temporal pacing, acoustic resonance, and spatial progression. Yet, as detailed in our comprehensive OSINT Verification Handbook, the vast majority of viral footage circulating across social platforms is not authentic breaking news—it is recycled archival footage, mirrored clips from disparate conflicts, or staged dramatizations.
When a 30-second eyewitness video surfaces on Telegram, TikTok, or X, how can an independent researcher or newsroom establish its authenticity before publication? This step-by-step guide outlines the standard operating procedure utilized by open-source intelligence desks to deconstruct, authenticate, and chronolocate eyewitness video media.
Step 1: Video File Acquisition and Container Hygiene
Social video platforms re-encode all uploaded media through aggressive video compression pipelines (typically utilizing H.264 or H.265/HEVC codecs at variable bitrates), stripping original sensor metadata in the process.
Before beginning your investigation:
1. Preserve the Stream: Download the highest-resolution stream available using an open-source tool like yt-dlp:
bash
   # Download best video and audio stream without re-encoding
   yt-dlp -f "bestvideo+bestaudio/best" --no-cache-dir "https://platform.com/target-video"
2. Generate the Evidentiary Checksum: Compute the SHA-256 hash immediately to ensure chain of custody. You can record this directly inside our client-side Digital Media Verification Navigator.
3. Inspect the MP4 Container Atoms: While social uploads strip EXIF data, native camera files retain valuable container atoms. Using MediaInfo:
* Look for the Encoded Date and Tagged Date in the container header.
* Check for the Writing Application or Writing Library. An entry like Lavf (FFmpeg) or HandBrake indicates the video was re-encoded on a computer, whereas Apple QuickTime or Samsung encoder strings suggest a mobile camera origin.
Step 2: Keyframe Deconstruction and Reverse Visual Querying
A fundamental law of video verification is that search engines cannot index raw video streams directly. To run a reverse visual search on a video, you must first extract its keyframes—the discrete anchor frames where significant visual motion occurs.
Raw Video Stream [00:00 ───▶ 00:30]
        │
        ▼ (Deconstruction via FFmpeg / InVID)
  ┌───────────┬───────────┬───────────┬───────────┐
  ▼           ▼           ▼           ▼           ▼
Frame 01    Frame 48    Frame 112   Frame 240   Frame 360
(Intake)   (Pan Left)   (Impact)   (Crowd Move)(Background)
        │
        ▼ (Parallel Multi-Engine Search)
[Google Lens]   [TinEye (Oldest)]   [Yandex Visual]
The InVID-WeVerify Workflow
The gold standard for fact-checkers is the open-source InVID-WeVerify Verification Plugin (supported by Agence France-Presse and European research consortiums). 1. Open the InVID extension and navigate to the Keyframes module. 2. Paste the video URL or load your local MP4 file. 3. InVID automatically runs an algorithm that analyzes scene cuts and extracts between 8 and 20 representative still frames. 4. Click the reverse search button beneath individual keyframes to query Google Lens, Bing, TinEye, and Yandex simultaneously.
The FFmpeg Manual Extraction Alternative
If an online video is protected or hosted locally, you can extract every I-frame (intra-coded keyframe) directly using FFmpeg:
# Extract all keyframes into a discrete output folder
ffmpeg -i input_video.mp4 -vf "select='eq(pict_type,PICT_TYPE_I)'" -vsync vfr keyframes/frame_%04d.jpg
Investigative Tactic: Never reverse search only the primary dramatic event (such as an explosion or podium speaker). Query the opening second or a boring panoramic frame capturing rooftops, road markings, or street signs. Recycled videos often alter the dramatic climax, but leave the establishing background frames unedited.
Step 3: Audio Stream Extraction and Spectrogram Forensics
Video forgers frequently alter the audio track—splicing dramatic sirens, gunfire, or chanting over peaceful street demonstrations, or vice versa. Audio track forensics often reveals manipulation faster than visual analysis.
- Extract the Audio Stream:
bash ffmpeg -i input_video.mp4 -vn -acodec copy extracted_audio.aac - Open in Audacity or Sonic Visualiser:
- Switch the track view from Waveform to Spectrogram.
- A spectrogram visualizes acoustic frequencies (vertical axis) over time (horizontal axis).
| Acoustic Anomaly | Spectrogram Visual Pattern | Investigative Interpretation |
|---|---|---|
| Abrupt Noise Floor Cut | Vertical razor-sharp boundary across all frequency bands. | Audio track was spliced; background ambient sound was abruptly terminated. |
| Re-Dubbed Sound Effects | Repeating identical harmonic bands across separate gunshots or explosions. | Sound effects were pulled from a digital audio library rather than recorded live. |
| Acoustic Reverb Mismatch | Dry, close-mic vocal frequencies appearing in an open, outdoor amphitheater scene. | Spoken dialogue was recorded in an indoor studio and layered over exterior footage. |
| Artificial Frequency Roll-Off | Hard horizontal frequency ceiling strictly at 16 kHz or 22 kHz. | Characteristic of compressed voice notes or synthetic voice cloning models. |
Step 4: Chronolocation via Platform Upload Timestamps
A common disinformation tactic is claiming that archival footage depicts an event that allegedly occurred “just minutes ago.” Establishing the exact UTC upload moment provides the outer temporal boundary of the media.
The YouTube Dataviewer
YouTube displays localized, rounded dates on video pages (e.g., “Streamed live 2 days ago”). * Use the Citizen Evidence Lab YouTube Dataviewer (developed by Amnesty International). * Input the video URL to reveal the exact Upload Time in UTC (Coordinated Universal Time) down to the second. * If a video allegedly depicting an event that broke at 14:00 local time in Kyiv was uploaded to YouTube at 10:15 UTC that same morning, the footage cannot represent the claimed incident.
Step 5: Geolocation Triangulation: Anchoring the Frame
Once you confirm the footage has not been published previously, the final step is proving where it was filmed.
- Extract Topographical Anchors:
- Mountain ridgelines and horizons (cross-verify via PeakFinder.org).
- Distinctive religious architecture, minarets, cellular towers, and transmission pylons.
- Road curvature, traffic light configurations, and pedestrian crosswalk striping.
- Corroborate with High-Resolution Satellite Passes:
- Use Google Earth Pro’s Historical Imagery slider to verify whether building additions or construction sites visible in the clip existed at that location on the claimed date.
- Consult Sentinel Hub EO Browser for recent multispectral passes confirming smoke plumes, thermal burn scars, or flood water levels corresponding with the video timeline.
Synthesis: The Five-Point Clearance Matrix
Before your desk verifies or publishes an eyewitness video dispatch:
- [ ] Has the file been fingerprinted via SHA-256 and logged into a case docket?
- [ ] Were keyframes extracted via InVID/FFmpeg and reverse-searched across at least three distinct engines?
- [ ] Was the audio track audited via spectrogram for acoustic splices or duplicate waveforms?
- [ ] Is the upload timestamp mathematically prior to or concurrent with the verified timeline of the event?
- [ ] Do visible physical landmarks align with satellite mapping and solar shadow bearings?
When every indicator aligns across these forensic axes, you transform viral, unverified eyewitness clips into verified public interest journalism that stands up to adversarial scrutiny.
Test this workflow interactively in the Digital Media Verification Navigator, or explore foundational principles in our OSINT Verification Handbook.
Put This Methodology Into Practice
Test these forensic workflows directly inside our client-side verification engine. Inspect EXIF headers in memory, calculate cryptographic file fingerprints, and run automated error level analysis with zero data leaving your device.
Launch Digital Verification Navigator →About the Contributor
The Dawat Forensic Research Desk specializes in open-source investigative intelligence, audiovisual forensics, and digital human rights documentation.